Tracing the Linux kernel using Exein Pulsar: a 5 Minute Tutorial
This hands on tutorial goes through the installation, setup and usage of Exein Pulsar.
Pulsar is an open-source security observability framework that uses eBPF to trace events in the kernel space. Through simple, easily customizable rules, Pulsar enables you to detect unintended behavior on your device at the filesystem, networking, and process activity levels.
Throughout this short hands on tutorial, we will focus on:
- Installing Pulsar on your machine
- Running Pulsar
- Using the CLI to interact with the Pulsar daemon
- Monitoring security events in real time
- Creating some custom rules
Installation
The simplest way to get started is to leverage the built-in installation script. You can find full installation instructions inside the official Github repository or documentation.
curl --proto '=https' --tlsv1.2 -sSf https://raw.githubusercontent.com/Exein-io/pulsar/main/pulsar-install.sh | shRun Pulsar
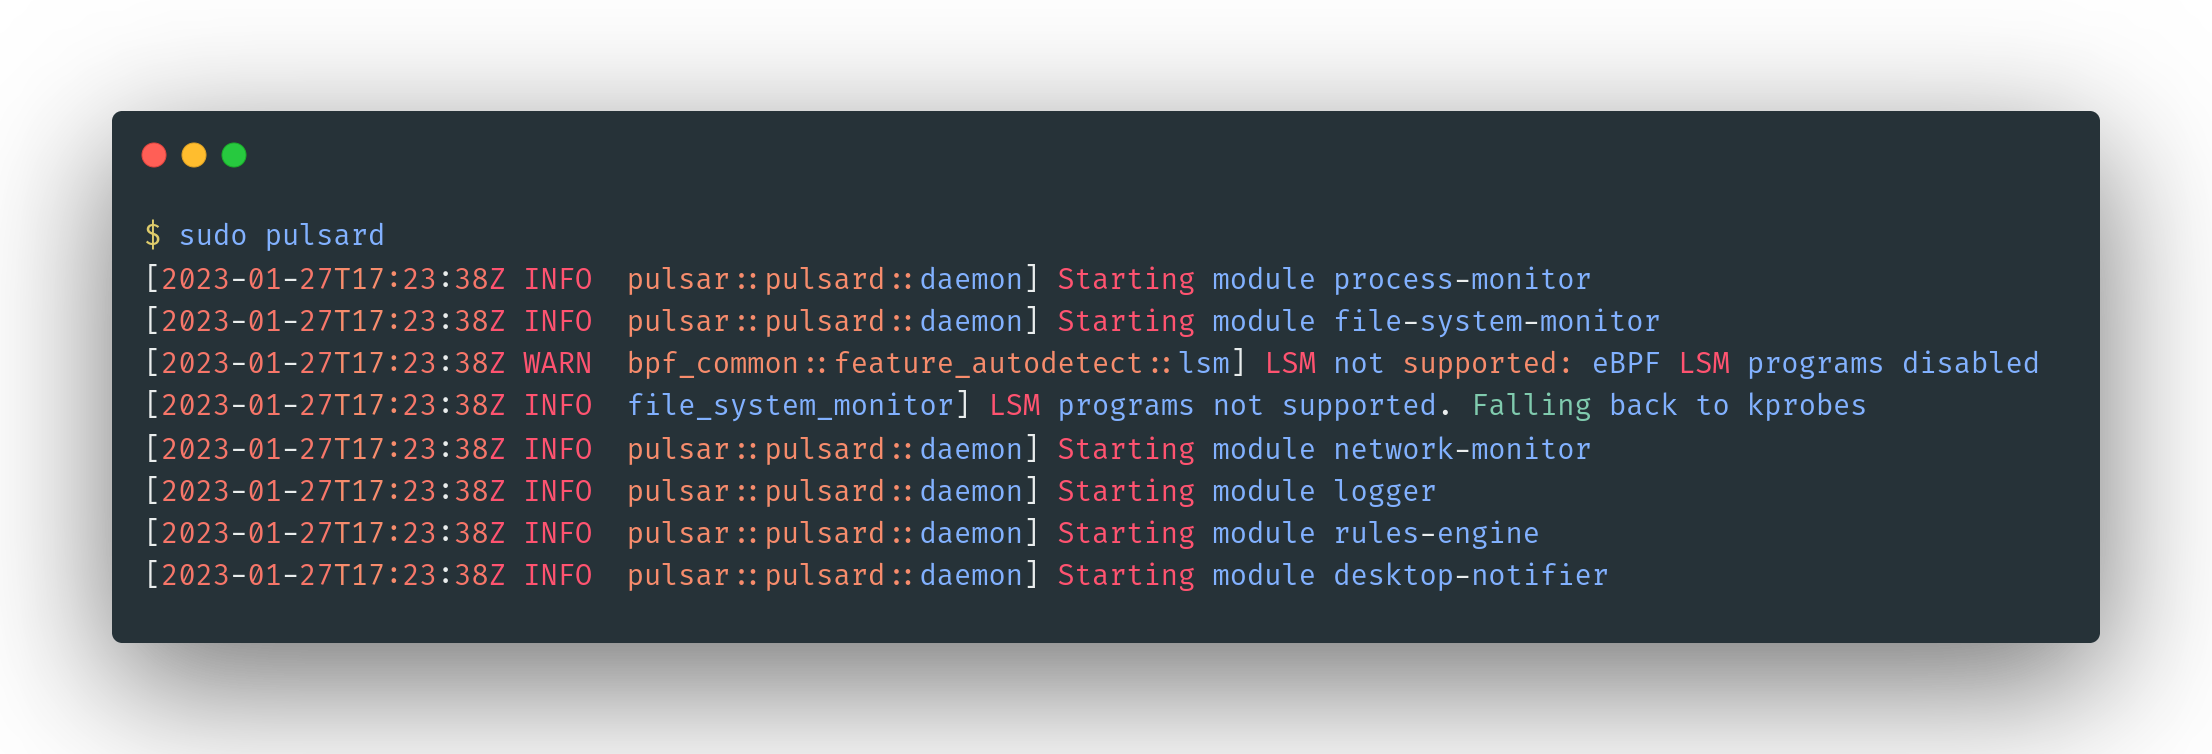
With Pulsar installed, you can launch the pulsar daemon. All you need to do is type into a terminal with administrator privileges:
sudo pulsard That's it! Once the daemon is launched, it will start monitoring the activity of your device. Your terminal should look like this:
By default all OS processes are monitored, making sure they adhere to the security policies that have been previously defined in the rules file. A set of rules is already defined as Pulsar starts for the first time (see below Configure Custom Rule or from the docs).
Use the CLI
You can interact with the daemon by using the Pulsar CLI. This allow you to conveniently manage the daemon and its modules.
As an example, let us use the status subcommand to list all currently running modules. This allows you to quickly determine modules are active or not. Take look to the Pulsar module documentation for more details.
sudo pulsar status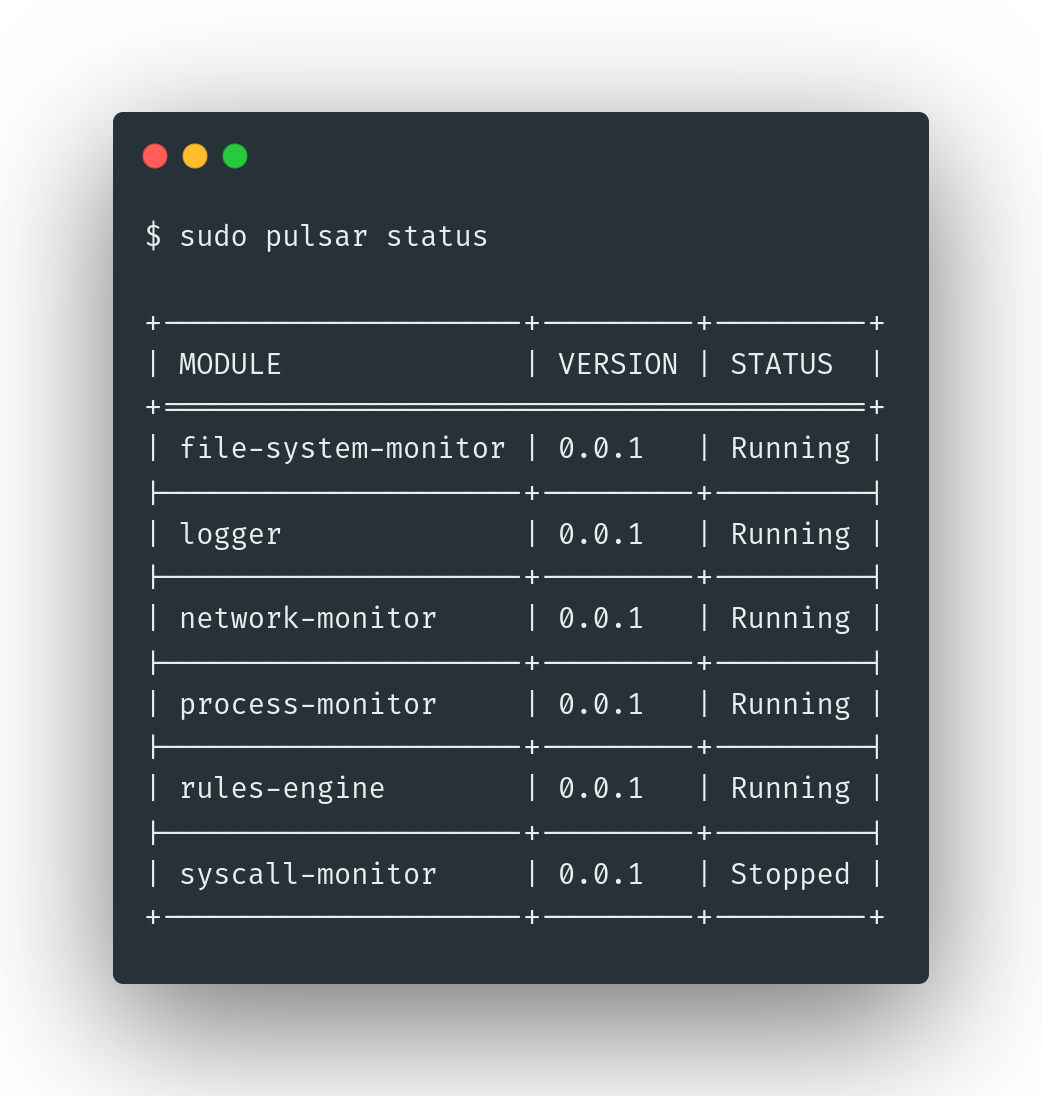
Use the start and stop subcommands followed by the module name to start and stop modules.
sudo pulsar start network-monitor
Module started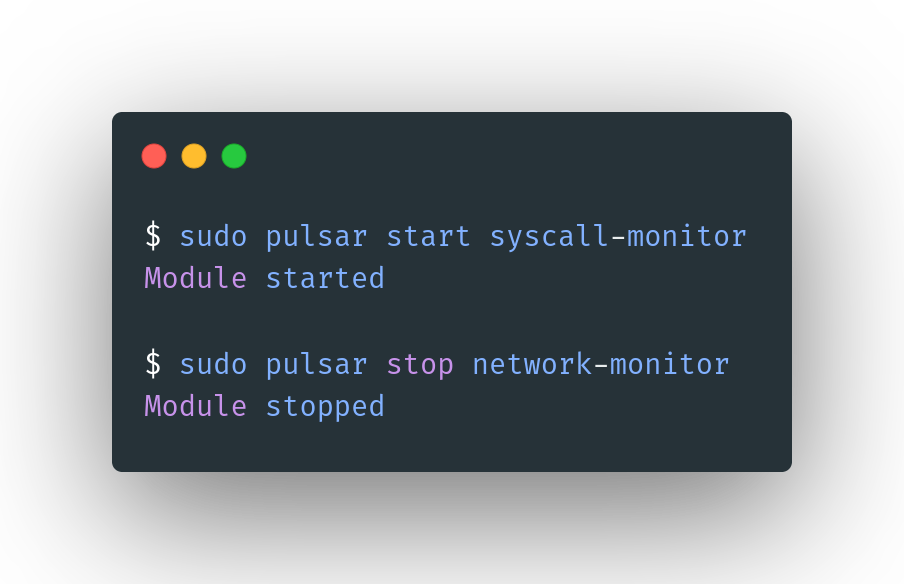
Monitor the events
Conveniently you can use the monitor utility to observe the events generated by Pulsar. In a new terminal you can use the following command:
sudo pulsar monitor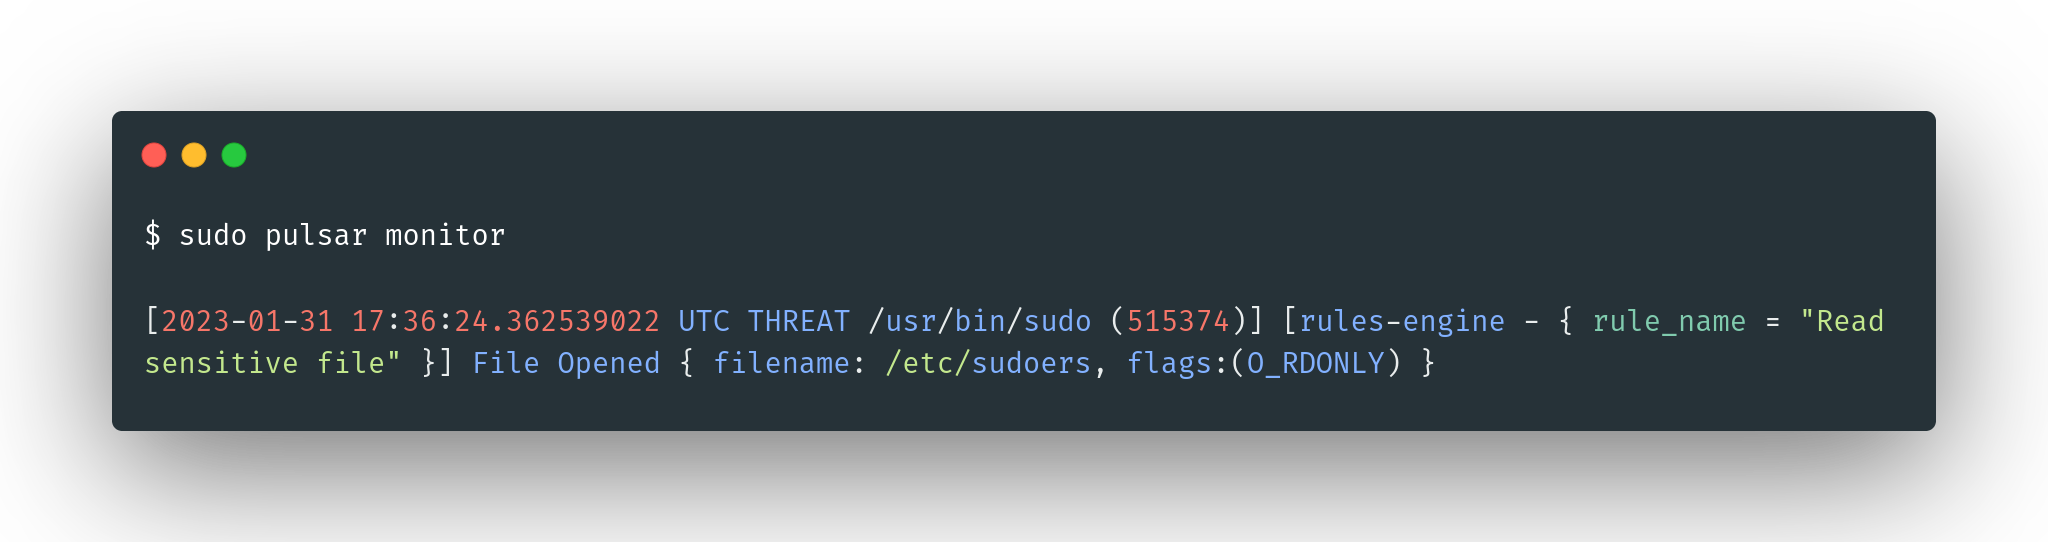
By default only threat events are shown. However you can output all the events using the --all argument:
sudo pulsar monitor --all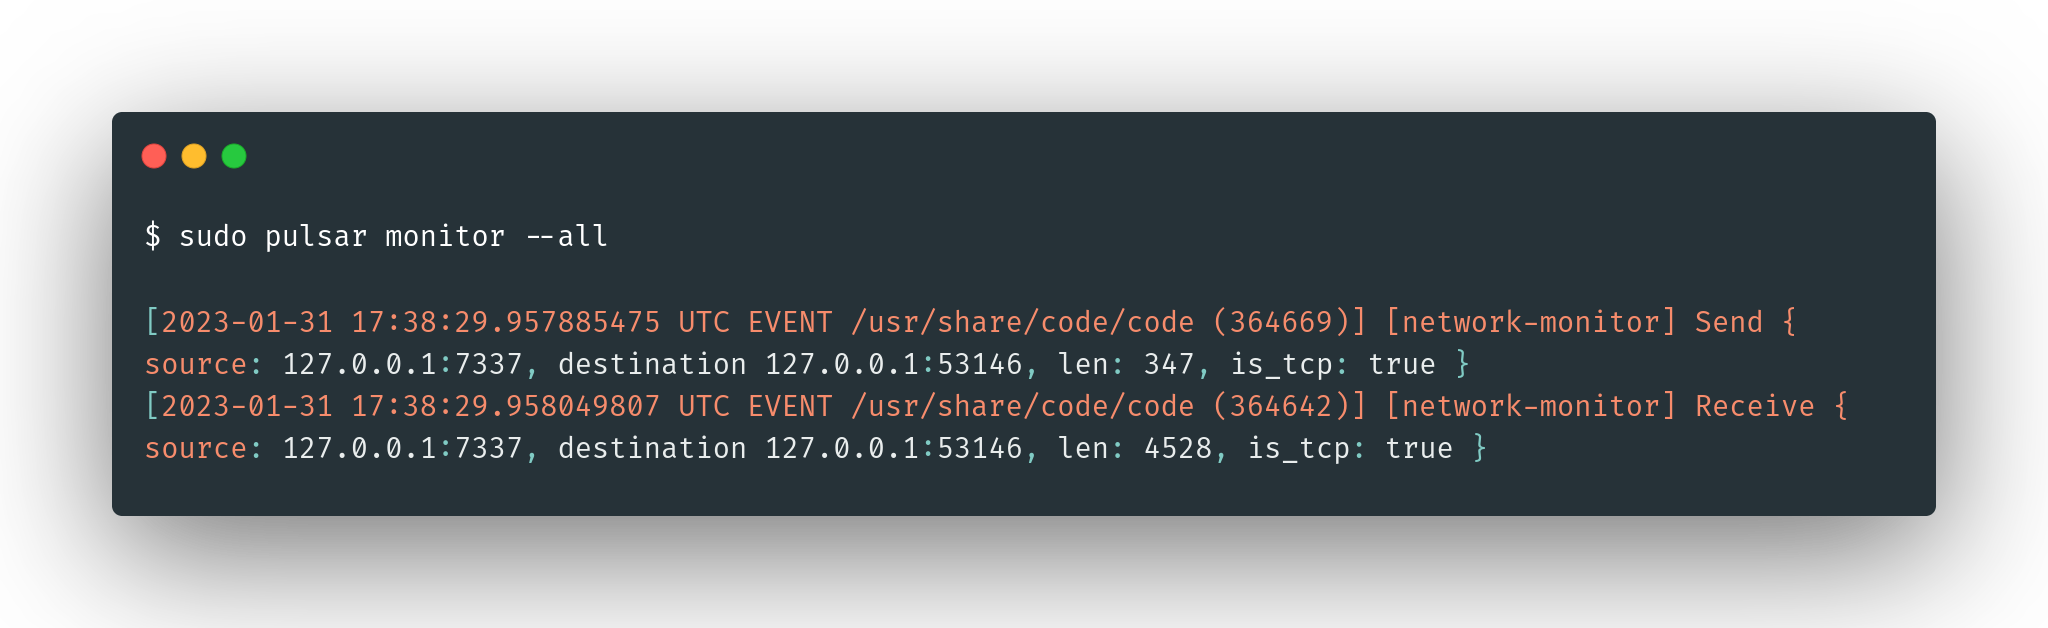
| grep <ARGUMENT> to filter only relevant events.Configure Custom Rules
Now that we have Pulsar up and running and monitoring, we can test it by triggering a threat event.
A set of default security policies is provided with Pulsar out of the box and installed in /var/lib/pulsar/rules/basic-rules.yaml. All the rules there are defined to trigger a threat event when some undesired action is performed on the host machine.
For example, the rule below specifies that symbolic links should not be created inside a sensitive folder:
- name: Create sensitive files symlink
type: FileLink
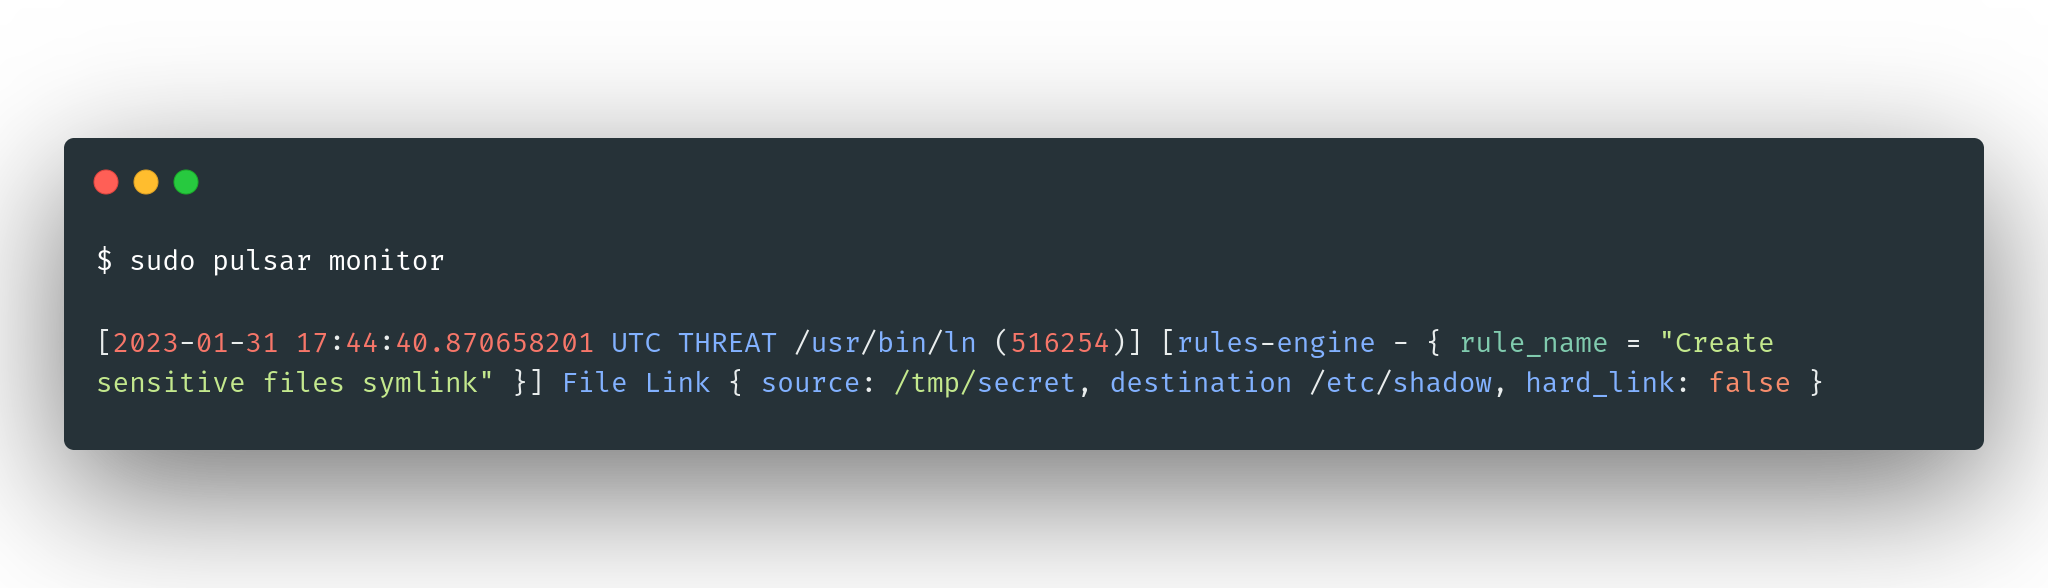
condition: (payload.destination IN ["/etc/shadow", "/etc/sudoers", "/etc/pam.conf", "/etc/security/pwquality.conf"] OR payload.destination STARTS_WITH "/etc/sudoers.d/" OR payload.destination STARTS_WITH "/etc/pam.d") AND payload.hard_link == "false"To trigger the symlink creation rule, use the following command in a new terminal:
ln -s /etc/shadow /tmp/secretIn the monitor terminal you should see a threat event that looks something similar to this:
NOTE: If the desktop-notifier module is enabled, you should also receive desktop notifications.
You can also edit the rules file to add your own custom rules. For example, you can add the following rule to detect the deletion of any file under a specific folder:
- name: Delete any file/directory from user desktop
  type: FileDeleted
  condition: payload.filename STARTS_WITH "/home/exein/Desktop"
Note that Pulsar rules must adhere to the events syntax. Pulsar events always have a header and a payload. For example, in the snippet above we look for file deletion events (event type FileDeleted) events where the name of the file being deleted (found in payload.filename) starts with "/home/exein/Desktop".
More details about events format can be found in the Pulsar documentation (see here: header, payload). Also additional information about Pulsar rules can be found here.
Conclusions
That's it! You have now learnt how to install, set up and use Exein Pulsar to easily trace the activity of your Linux devices and generate threat alerts when undesired behavior is encountered. You also learnt how to use the Pulsar CLI to interact with the Pulsar daemon, monitor events and configure custom rules to detect any malicious activity.
If you like the project, make sure to support it by giving it a star on GitHub and join the official Discord server to ask anything to the maintainers.
Hoang Duy Trinh - Machine Learning Engineer